License
Univer Pro advanced capabilities require a license to unlock full benefits. This page explains how to obtain, configure, and verify a license.
When a License Is Required
- Evaluation: license not required, but features are limited (watermark, import size, collaboration quota)
- Production: recommended to purchase a license for full access
If you have not deployed the server yet, see Quick Start.
Get a License
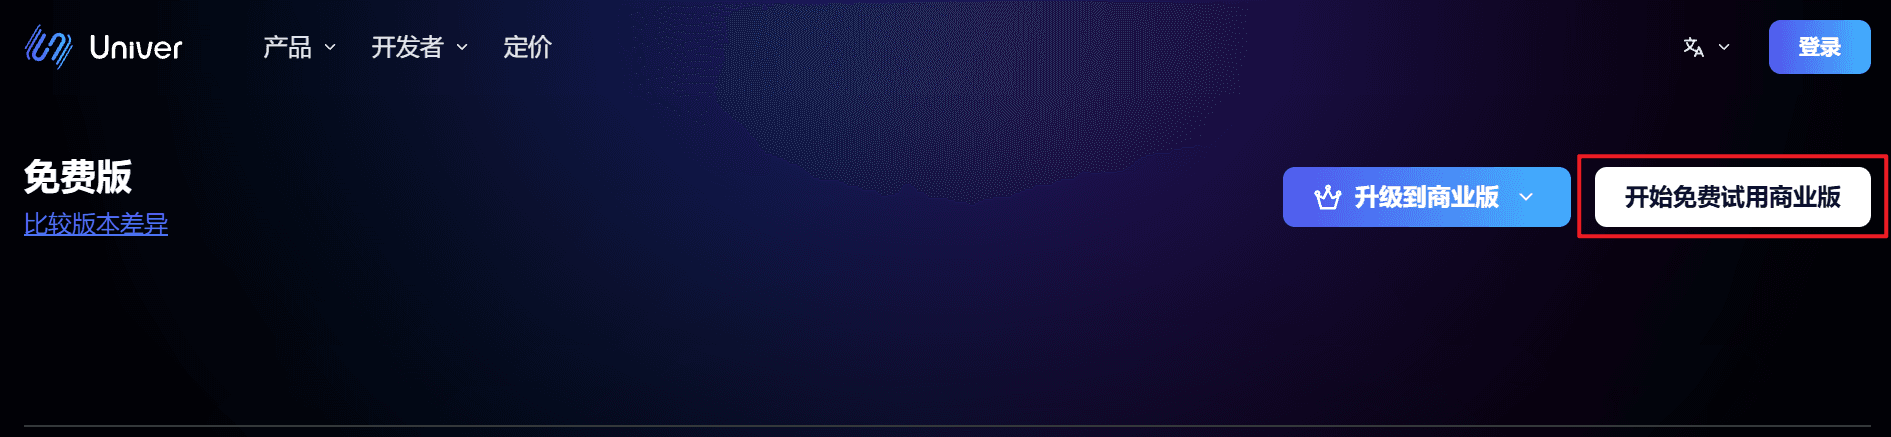
- Visit the License page and sign in
- Download the license file
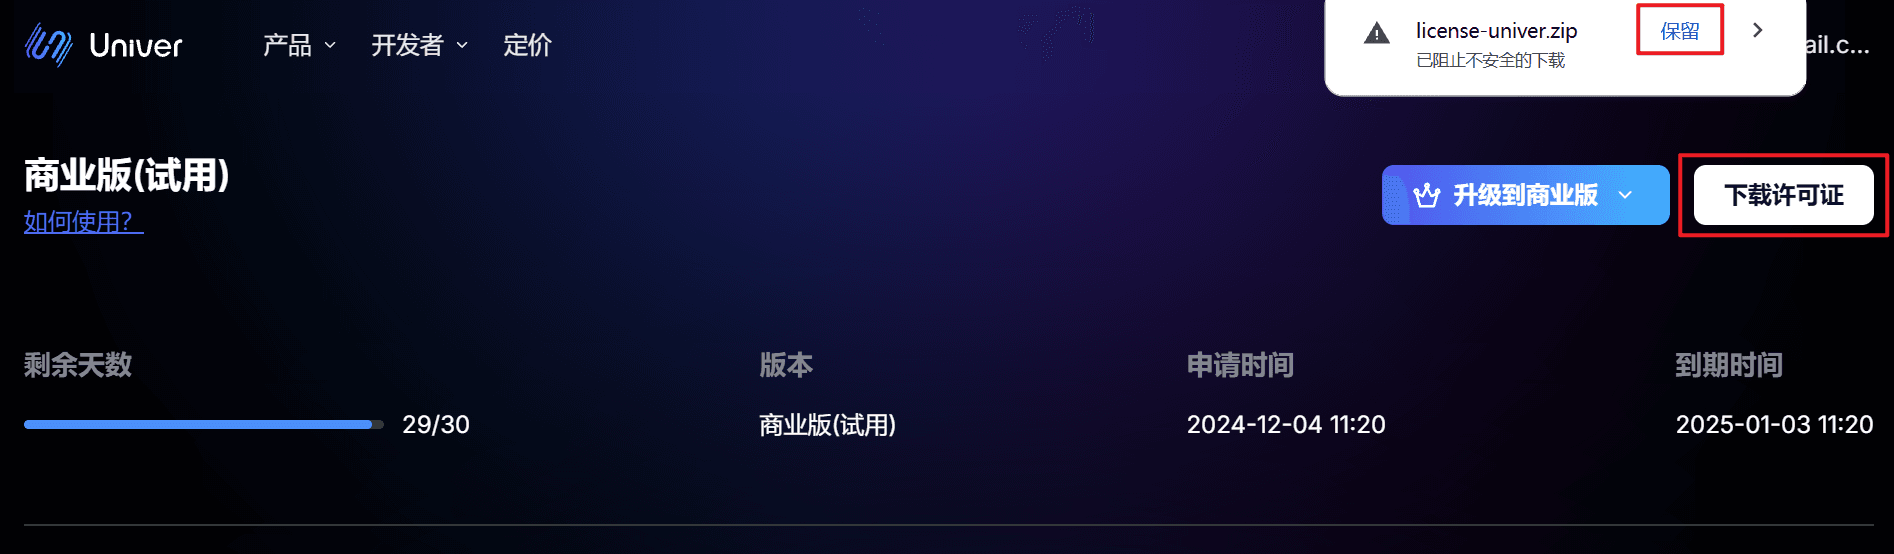
Free Trial License
You can request a 30-day trial license:
- Visit the License page and sign in
- Click “Get trial license”
Add or Update a License
Unzip license-univer.zip to get license.txt and licenseKey.txt. Do not edit them.
Use License in Client
Preset Mode
import { UniverSheetsAdvancedPreset } from '@univerjs/preset-sheets-advanced'

const { univerAPI } = createUniver({
  presets: [
    UniverSheetsAdvancedPreset({
      license: `Content from license.txt`,
    }),
  ],
})
Plugin Mode
Register UniverLicensePlugin first after creating the Univer instance:
import { UniverLicensePlugin } from '@univerjs-pro/license'

univer.registerPlugin(UniverLicensePlugin, {
  license: `Content from license.txt`,
})
Use License on Server
- Copy
license.txtandlicenseKey.txtinto/univer-server/configs/ - Run
bash run.sh restartinuniver-server
- Install/upgrade via Helm:
helm upgrade --install -n univer --create-namespace \
--set global.istioNamespace="univer" \
--set-file universer.license.licenseV2=$(YOUR_LICENSE_TXT_PATH) \
--set-file universer.license.licenseKeyV2=$(YOUR_LICENSE_KEY_TXT_PATH) \
univer-stack oci://univer-acr-registry.cn-shenzhen.cr.aliyuncs.com/helm-charts/univer-stack
Verify License
Frontend Verification
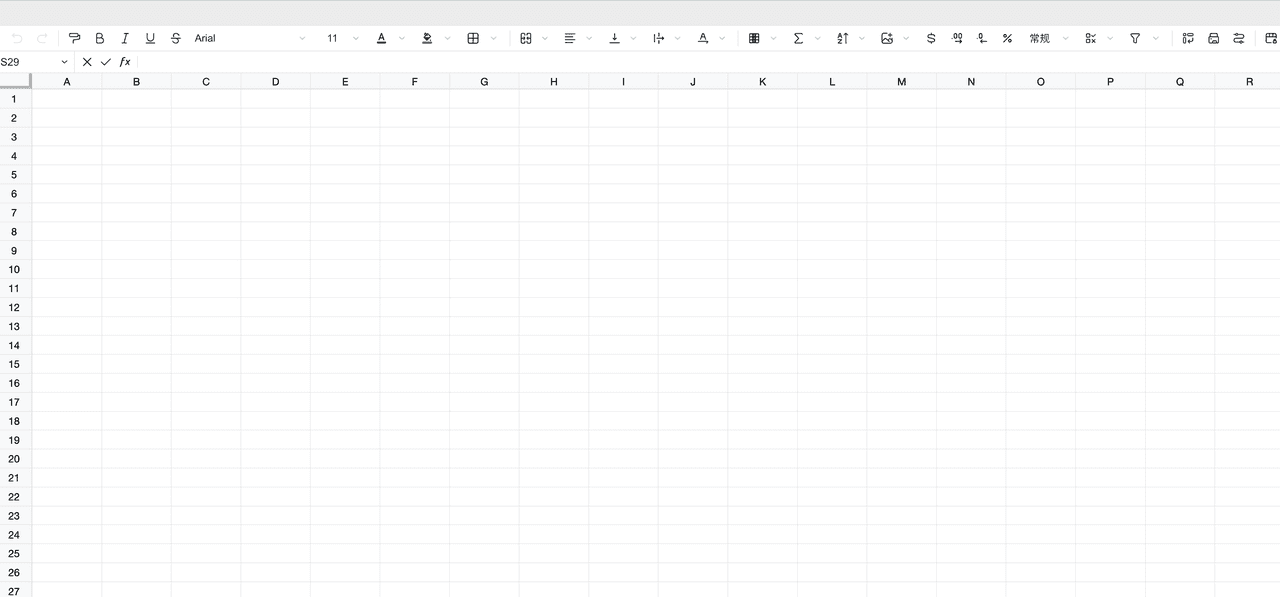
- Missing or invalid license shows watermark and limits
- Valid license removes limits

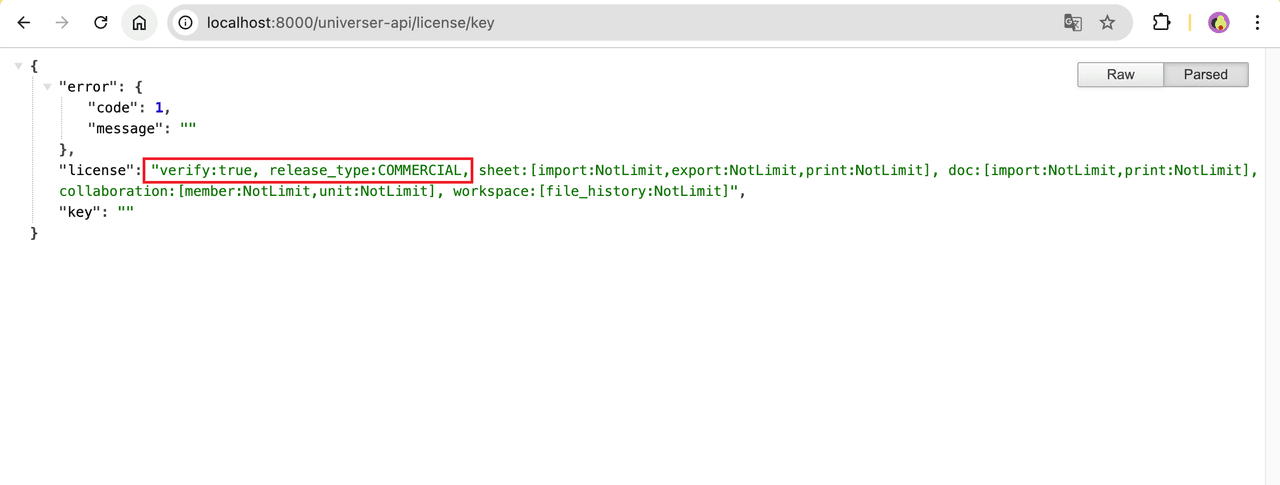
Server Verification
Visit host:8000/universer-api/license/key to inspect entitlements. For local:
http://localhost:8000/universer-api/license/key
{
  "verify": "true",
  "release_type": "COMMERCIAL"
}
FAQ
- Verification failed: check license validity, file integrity, and service restart
- Watermark still present: verify client-side license injection
- Other issues: contact support
How is this guide?